
The Art of Blending Wax Melts to Create Unique Fragrances
Have you ever walked into a room and instantly felt a sense of calm or excitement due to the delightful aroma in the air? Fragrances have a powerful effect on our emotions and can transport us to different times and places. One way to create a truly unique and captivating scent experience is by blending wax melts. With a little creativity and experimentation, you can become a master at crafting your own personalized fragrances. So, grab your apron and let's dive into the art of blending wax melts!
Understanding Wax Melts
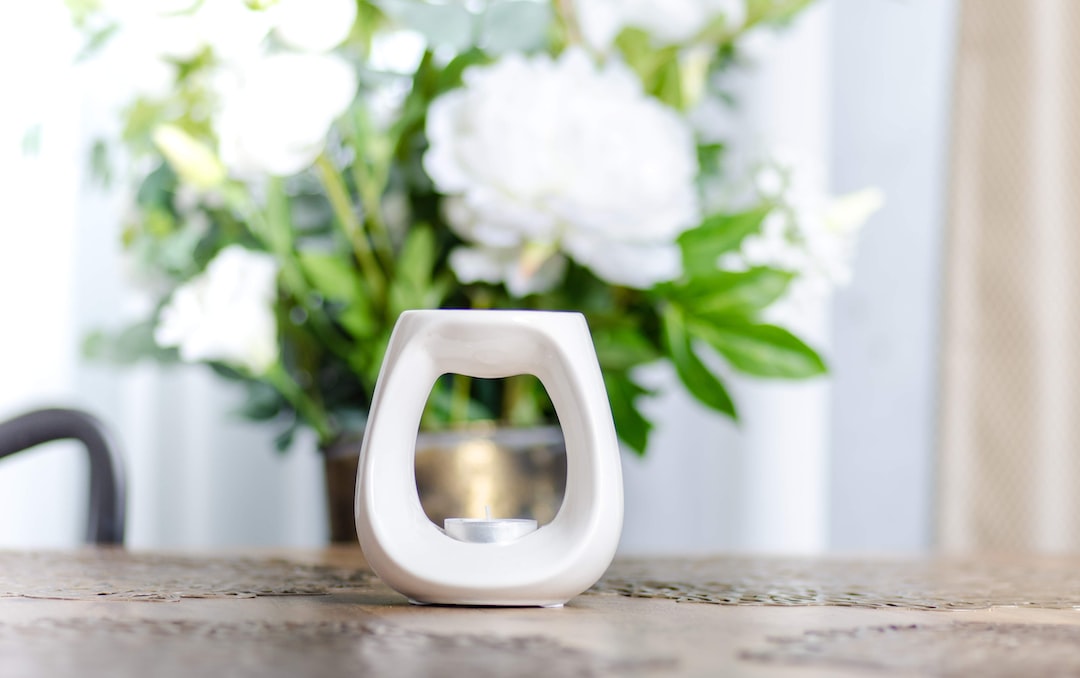
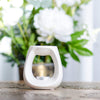
Before we jump into the blending process, let's take a moment to understand what wax melts are. Wax melts, also known as wax tarts, are small pieces of scented wax that are melted in a wax warmer to release fragrance into the air. They are an excellent alternative to traditional candles as they offer a flameless way to enjoy captivating scents.
Wax melts come in a variety of shapes, sizes, and fragrances. You can find them in floral scents, fruity blends, cozy aromas, and even exotic combinations. However, if you're looking for something truly one-of-a-kind, blending your own wax melts is the way to go.
Gather Your Ingredients
Before you start blending, it's essential to gather all the necessary ingredients. Here's what you'll need:
- Base Wax: Choose a high-quality soy or beeswax as the foundation for your wax melts.
- Fragrance Oils: Select a variety of fragrance oils that complement each other. You can choose from floral, fruity, woody, or spicy scents.
- Colorants: If you want to add a pop of color to your wax melts, opt for wax dye chips or liquid colorants specifically made for candles and wax melts.
- Molds: Find unique and interesting molds to give your wax melts an eye-catching shape.
- Wax Warmer: Ensure you have a reliable wax warmer to melt your blends.
- Labeling Materials: Don't forget to label your creations! Invest in cute labels and markers to give your wax melts a professional touch.
The Blending Process
Now that you have all your ingredients ready, it's time to start blending. Here's a step-by-step guide to help you create your own unique fragrances:
- Start with a Plan: Before you dive into mixing different scents, brainstorm some ideas for your blends. Think about the emotions or atmosphere you want to evoke. For example, do you want a soothing blend for relaxation or a vibrant mix for energizing your space?
- Measure Your Ingredients: To ensure consistency in your blends, measure the amounts of base wax, fragrance oils, and colorants you'll be using. Keeping a record of your measurements will come in handy if you want to recreate a particular blend in the future.
- Mixing the Wax: Melt your base wax in a double boiler or a microwave-safe container. Stir gently to ensure it melts evenly. Once melted, remove from heat and let it cool slightly before adding fragrance and colorants.
- Add Fragrance: This is where the magic happens! Start by adding a few drops of your chosen fragrance oil to the melted wax. Remember, a little goes a long way, so start with a small amount and gradually increase until you achieve your desired scent strength.
- Experiment with Blends: Get creative and mix different fragrance oils together. Start with simple combinations and then gradually explore more complex blends. Keep track of your experiments, so you can recreate the ones you love.
- Color Your Melts: If you prefer colored wax melts, now is the time to add your chosen colorant. Use a toothpick or a dropper to add a small amount of dye to the melted wax and stir gently until well blended. Remember, a little bit of colorant can go a long way, so start with a small amount and add more if needed.
- Pour into Molds: Carefully pour the melted wax into your chosen molds. Allow them to cool and harden completely before removing them from the molds.
- Label and Store: Once your wax melts are fully hardened, label them with the name of the blend and the date of creation. Store them in a cool, dry place away from direct sunlight.
Creating Your Signature Scent
Now that you've mastered the art of blending wax melts, it's time to create your signature scent. Experiment with different combinations, layering scents, and adjusting the proportions until you find the perfect blend that truly represents your unique style and personality.
Additionally, don't be afraid to mix and match your wax melts with different fragrances from your favorite candle brands. By combining your homemade blends with pre-made wax melts, you can create an even more complex and captivating scent experience.
Sharing Your Creations
Once you've created your unique wax melt blends, share them with the world! Consider creating a dedicated section on your Shopify store to showcase your handmade creations. Take beautiful photographs of your wax melts in action and write captivating descriptions to entice customers. You can also create gift sets or offer personalized blending services to attract even more customers.
Remember, the key to success in the world of wax melt blending is to have fun and let your creativity flow. Don't be afraid to try new combinations, explore different fragrance families, and trust your nose. With a little practice, you'll become a master at creating enchanting scents that will leave everyone wanting more!
So, what are you waiting for? Grab your supplies, unleash your inner scent artist, and start blending your way to fragrant bliss!
Happy melting!


